
Claude Desktop & Claude Web
Sign in with GoogleClaude Desktop and Claude Web share the same screens. The shots below are from the desktop app.
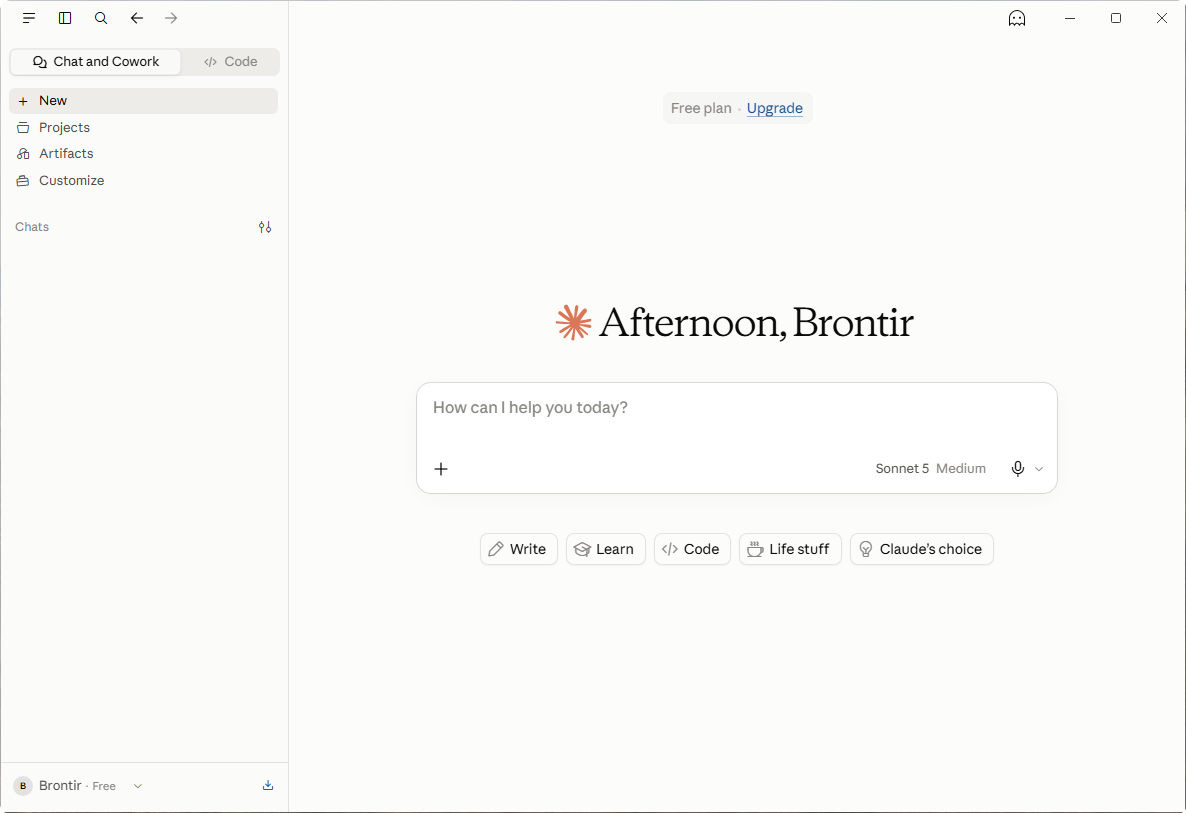
Open Customize in the Claude sidebar
That opens the settings window — everything below happens inside it.
BRONTIR is a streamable MCP server: there is nothing to download and no key to paste. Pick your client below and follow the screens — most of them take under a minute. Your client opens a browser tab to sign in, so have an account ready before you start.
Claude Desktop and Claude Web share the same screens. The shots below are from the desktop app.
Open Customize in the Claude sidebar
That opens the settings window — everything below happens inside it.
Always restart your client after connecting. Quit and reopen the desktop app, or reload the page in a web client. Clients read the tool list once at startup, so until they restart your agent may not see the new tools even though the connector already shows as connected.
CLAUDE.md / AGENTS.md for coding agents. In Claude you can also disable the built-in web search in the chat's tool settings. Full setup guide for every client: brontir.com/docs.